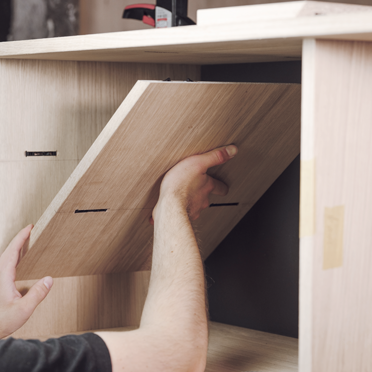
Complex construction? No problem!
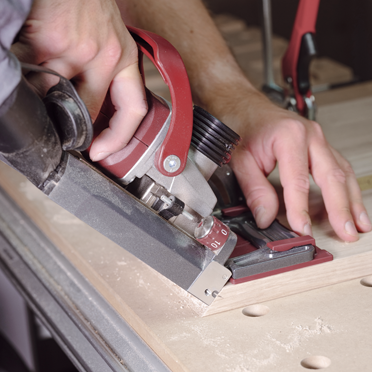
Step 1: Mill grooves into front side
The swivelling stop with fixed pivot point allows you to easily set angles and mill the grooves into the workpiece with precision fit. The stroke movement of the cutter is automatic.
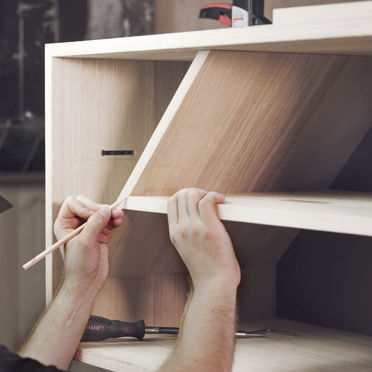
Step 2: Transfer Marking to Counterpart
To produce a matching groove in the counterpart, place the already grooved component on the counterpart in the correct position and transfer the centre cleft.
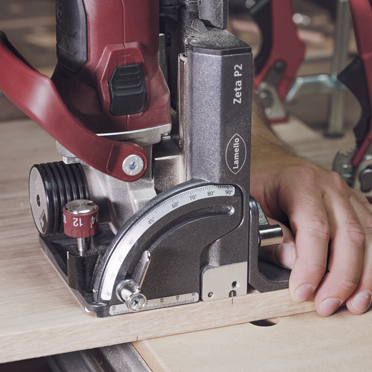
Set the stop square appropriately and align the Zeta P2 with the centre marking.
Then you can mill the grooves into the intended surface here as well.
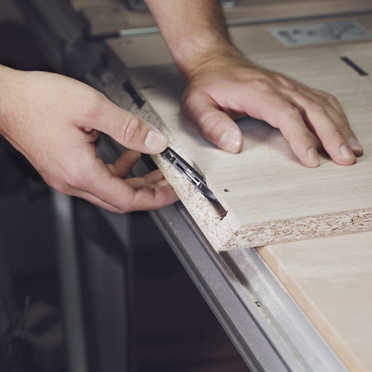
Step 4: Insert Connector Halves
Flexible positioning pins prevent rigid elements of the connector from protruding. This way, individual elements can be retrofitted if required
and the assembly sequence is freely selectable.
Step 5: Connect Components and Tighten Construction
To assemble, slide the two components together so that the mitre fits snugly. The flexible positioning pins automatically engage in the correct position. The components are then tightened with a hexagonal pin wrench to ensure a permanent connection. All you need to disassemble the piece is the hex wrench. You can then remove the elements by pulling them out sideways.
Tip: Work wirelessly. The biscuit joiner Zeta P2 quickly and easily mills the groove for all P-System connecting elements. The new, wireless device spares you the hassle of searching for an outlet. Plus, no tangling cord will get in your way and hamper your work process.